
FELIX at Nikhef readme
Programming a bitfile into a FELIX (FLX712) card.
The computers in the Nikhef Atlas playground can be accessed through the SSH gateway login.nikhef.nl, or by setting up a VPN with institute access, see https://wiki.nikhef.nl/ct/EduVPN
A list of computers and the cards in them can be found on the Atlas setup in H148 wiki page.
First you need a graphical session to any Linux computer in the Nikhef network where you launch Vivado. This can for instance be tarfa.nikhef.nl. For the graphical session you can use ssh -X tarfa.nikhef.nl, but the GUI response of Vivado will be slow. More convenient options to use are x2goclient (Recommended by Frans), VNC (Recommended by Jos) or FastX (Recommended by Nikhef CT).
Once logged in to tarfa, Vivado can be launched using the following commands:
source /eda/fpga/xilinx/Vivado/2021.2/settings64.sh
vivado
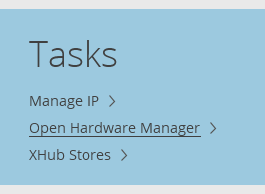
In Vivado clock on hardware_manager => Open Target => Open New Target.
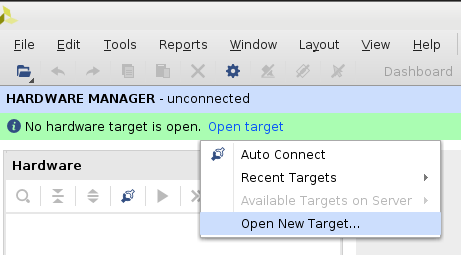
Now choose "Connect to remote server" and select rother as the hardware server. Rother is a (NUC) computer that connects to all the USB/JTAG cables to program the FPGAs.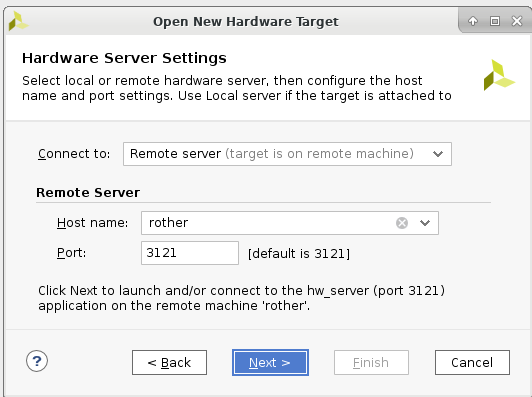
Choose the hardware target that matches the card / server you want to use, see Atlas setup in H148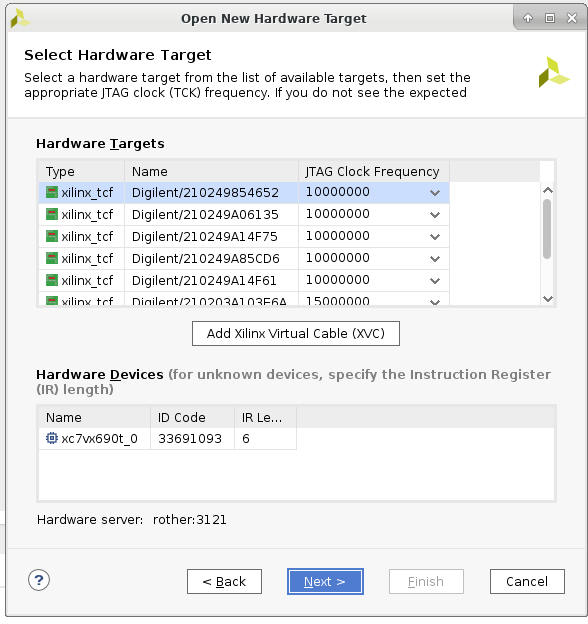
Now you can select "Program device" and then select the .bit file that you want to flash into the FPGA, the debug probes file (.ltx) is optional and only available if the firmware was built with internal ILA/Chipscope to look into details of internal signals of the FPGA.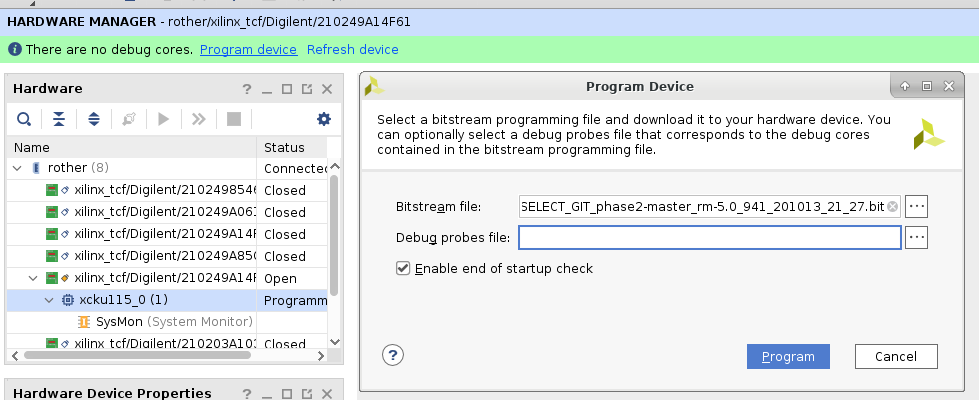
Finally the PCIe device must be recognized, for this to happen the computer holding the card must be rebooted:
sudo shutdown -r now
Phase2 (register-map 5.0) compatible FELIX software
SSH key
If you don't have an SSH key on the computer yet, create one using
ssh-keygen
Then copy the contents of the file ~/.ssh/id_rsa.pub into SSH keys under your gitlab account settings
Clone the felix and software repository
git clone ssh://git@gitlab.cern.ch:7999/atlas-tdaq-felix/felix-distribution.git felix-software-5.0
cd felix-software-5.0/
git submodule update --init
#If you want to build rm-4 (FELIG) compatible softare, you need to do "export REGMAP_VERSION=0x0400"
export REGMAP_VERSION=0x0500
source setup.sh
cmake_config
cd x86_64-centos7-gcc8-opt
make -j 8
h1. Initializing the FLX712 card
cd felix-software-5.0/
export REGMAP_VERSION=0x0500
source setup.sh
cd x86_64-centos7-gcc8-opt/
export PATH=$PATH:$(pwd)/flxcard:$(pwd)/ftools:$(pwd)/elinkconfig:$(pwd)/felig-tools:$(pwd)/felix-star
elinkconfig
flx-init
Initialize FELIG and FELIX
#On the FELIX card (assumed to be card #0 so -c 0 / -d 0 is used here. This needs the rm-5.0 software
#Set it in loopback mode to let the GBT core / jitter cleaners properly initialize
flx-config -d 0 GTH_LOOPBACK_CONTROL 2
flx-init -c 0
elinkconfig

#On the FELIG card (assuming to be card #1 so -c 1 / -d 2 is used here. This needs the rm-4.10 software
flx-init -c 1
#Depending on the E-Link, chunk configuration and whether you want MSB first (Default is LSB first for FELIG, MSB first for FELIX) use different options for felig-init and felig-start. See -h for more details.
felig-init -d 2
felig-start -d 2
felig-reset -d 2
#Verify that all links on the FELIG card are properly aligned
flx-info -c 1 link

#Back on the FELIX card (rm-5.0 software) disable the loopback
flx-config -d 0 GTH_LOOPBACK_CONTROL 0
#Verify alignment status
flx-info -c 0 link
#Verify that all recovered clock frequencies are the same value (+/- 1 Hz), if not you can go back to initializing FELIG.
flx-info -c 0 freq

